Step 2 — Enter Your Web Application's Details
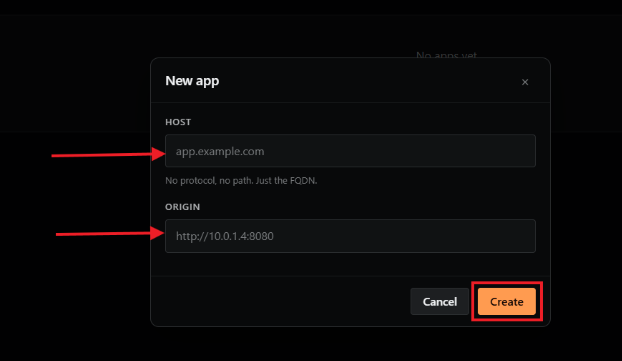
A form will appear asking for information about your web application.
- In the FQDN field, enter your web application's fully qualified domain name (e.g.,
www.yoursite.com). - In the Address field, enter the current IP address or host address of your web application.
- Click Create.
Set Up Your DNS Record
After filling in the form, you will need to update your DNS settings so that your domain points to GatewaySentry's anycasted network. This is what allows GatewaySentry to inspect and filter traffic before it reaches your site.
Add the following DNS A Record with your domain provider:
| Type | Name | Value |
|---|---|---|
| CNAME/ALIAS | Your FQDN (e.g., www) |
geo-routing.gatewaysentry.com |
What is a DNS A Record? A DNS A record tells the internet where to send visitors when they type your domain. By pointing it to GatewaySentry, all traffic goes through their protection layer first.
Note: DNS changes can take anywhere from a few minutes to 48 hours to fully propagate across the internet, depending on your provider.
Previous: ← Step 1 — Select Your Organization and Create a New Instance Next: Step 3 — Wait for DNS Verification and Activate Protection →