Setting Up Director
This guide walks you through installing and running Director — an in-house GatewaySentry script that establishes and manages the GRE tunnel between your origin server and GatewaySentry's edge network.
Director handles the tunnel setup, keeps it running in the background, and provides a simple menu for managing it.
Director is for GRE Tunnel mode only. If your staple IP is using Reverse Proxy, Reverse Proxy + PROXY Protocol, or FOU Tunnel mode, you don't need Director. See the Proxy Modes Reference for an overview of the available modes.
Before You Begin
Make sure you have the following ready:
- An active Network Protection staple IP in GRE Tunnel mode. If you haven't set one up yet, see Adding Network Protection.
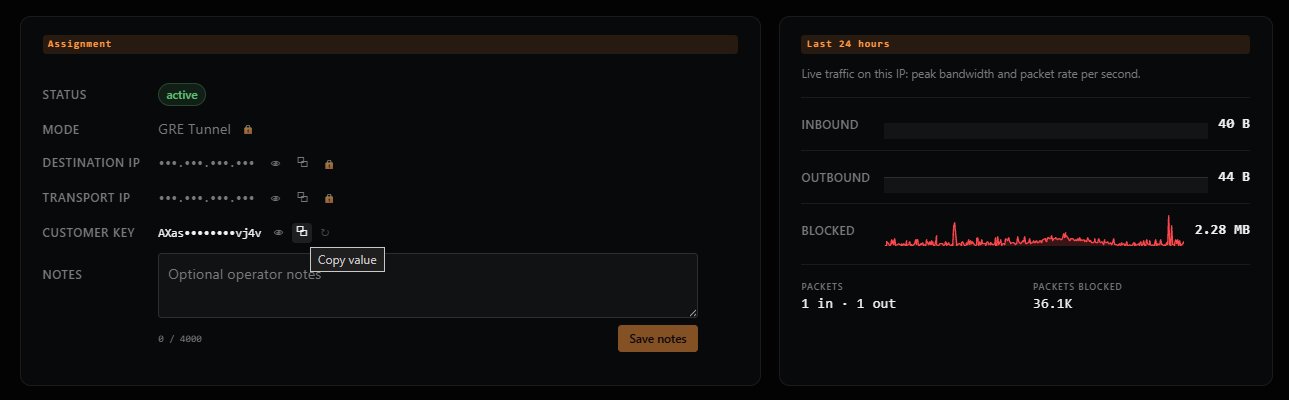
- The Customer Key for that staple IP. You can find it on the staple IP dashboard — hover over the value and click the Copy value icon to copy it.
- Administrator (Windows) or root (Linux) access to the origin server you want to tunnel through.
- Python 3 installed on the origin server. On most Linux distributions this is already present. On Windows, the installer will tell you if Python isn't available.
What's the Customer Key for? Director uses it to authenticate to GatewaySentry's tunnel management system and fetch the tunnel configuration (edge nodes, routing rules) for your staple IP. Treat it as a secret.
Transport IP vs Destination IP
When your staple IP is in GRE Tunnel mode, the Assignment panel shows two IP fields that Director relies on:
| Field | Meaning |
|---|---|
| Transport IP | The public IP address of your origin server (or VPS). This is the outside endpoint of the GRE tunnel. |
| Destination IP | The IP address Director assigns to the tunnel interface (NIC) on your server. This is the inside endpoint of the tunnel. |
You set both of these when configuring your staple IP for GRE mode. Director reads them automatically — you don't need to enter them again here.
Locked while active: Both fields show a lock icon while the proxy is active. To change them, deactivate the proxy first.
Walkthrough
Follow these steps in order to install Director and bring up the tunnel.
- Step 1 — Install Director
- Step 2 — Enter Your Customer Key
- Step 3 — Set Up the Tunnel
- Step 4 — Verify the Tunnel
Reference
- Menu Options Reference — Every option in the
gs-directorinteractive menu.
Operations
- Troubleshooting — Common issues with install, Customer Key, or the tunnel.
Need Help?
If Director won't install, your Customer Key keeps being rejected, or the tunnel can't be established despite correct settings, please reach out to GatewaySentry Support.