Step 2 — Review Your Staple IP Dashboard
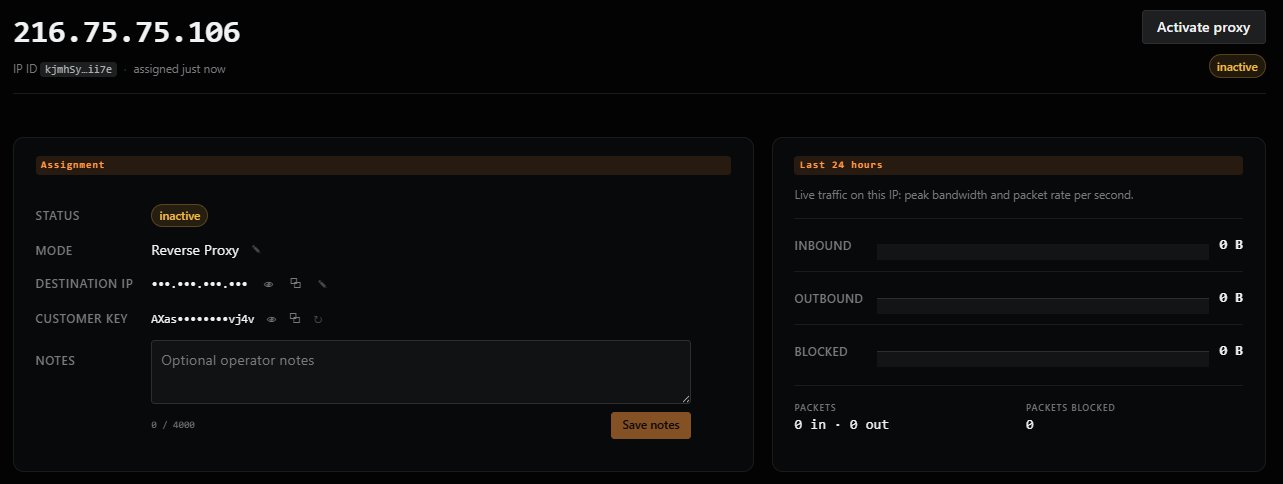
After your staple IP is assigned, you'll be taken to its dashboard. The header shows the assigned IP (e.g., 216.75.75.106), an IP ID (a short internal identifier), and the assignment timestamp.
Dashboard Layout
The dashboard has two main panels:
- Assignment — the configuration of your proxy (Status, Mode, Destination IP, Customer Key, Notes).
- Last 24 hours — live traffic statistics (inbound/outbound bandwidth, packets, blocked packets).
A new staple IP starts in the inactive state. No traffic flows yet — you need to activate the proxy first.
Important: The dashboard is the place to come back to whenever you need to change your proxy mode, update your destination IP, or check live traffic. Bookmark the URL or keep it accessible.
For a complete breakdown of every field on this dashboard, see the Dashboard Field Reference.
Previous: ← Step 1 — Request a Staple IP Next: Step 3 — Choose Your Proxy Mode →