Step 1 — Request a Staple IP
The first step in setting up Network Protection is requesting a staple IP — a stable, dedicated public IP address assigned to you from GatewaySentry's pool. Traffic sent to your staple IP will be filtered and forwarded to your origin server.
Prerequisite: You should have your origin server's public IP address ready before starting. See Before You Begin for the full prerequisite list.
Request the IP
- In the sidebar, locate Network Protection.
- Click the "+" button next to it (tooltip: Add staple IP).

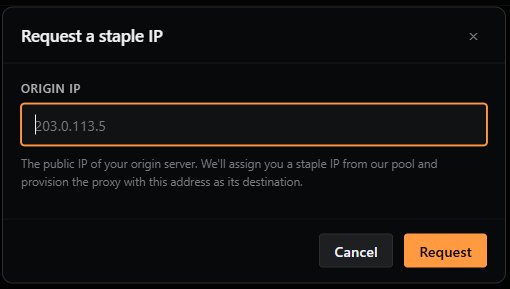
A dialog will open titled Request a staple IP.
- In the Origin IP field, enter the public IP address of your origin server (e.g.,
203.0.113.5). - Click Request.
GatewaySentry will assign you a staple IP from its pool and provision a proxy with your origin's address as the destination.
Tip: If you only have one origin to protect right now, just enter that one. You can always add more staple IPs later for additional origins.
Previous: ← Adding Network Protection (overview) Next: Step 2 — Review Your Staple IP Dashboard →